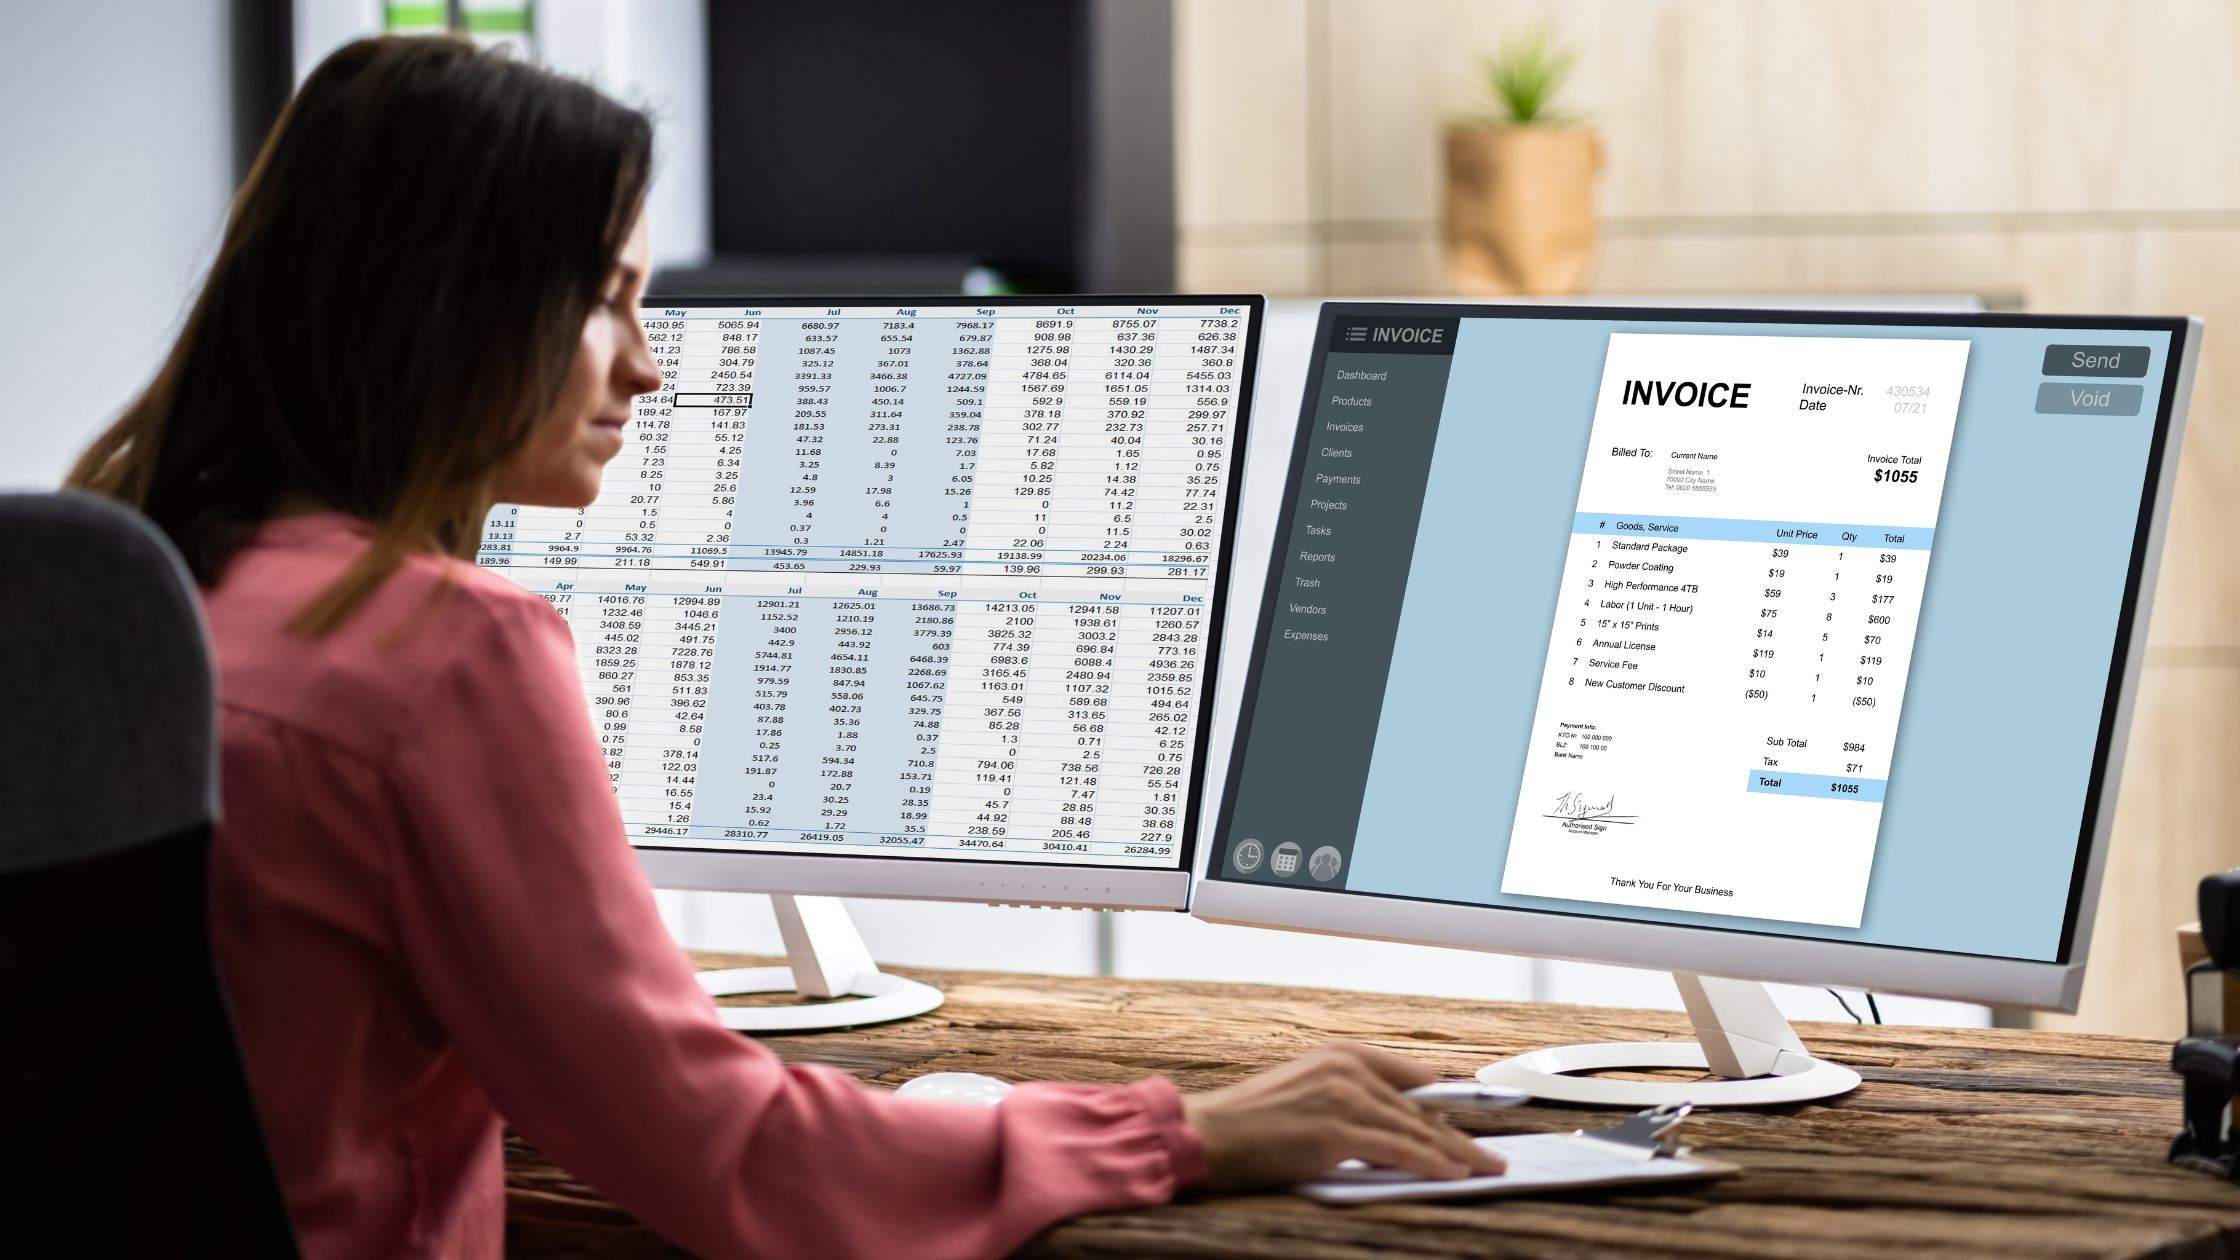
More POS software companies now give free POS download. For small and large organisations, free point-of-sale software for Windows is equally beneficial. Free point-of-sale (POS) software can take the place of comparable third-party versions that are used in retail settings. Along, with a few more sophisticated point-of-sale options. It provides many of the same features. However, the main distinction between this program and other programs is to download it for free.
You can always visit the floreant to know better about this intriguing choice if you want to know more about free point-of-sale software for Windows. The Floreant is the first known enterprise-grade restaurant POS released in the public domain. It has had stable growth in the last ten years. According to Google statistics, it is the most-used restaurant POS.
How to set up a POS system through POS download
Setting up a POS system can be quick and efficient if you understand the steps involved. Here are five easy steps you can use to set up a point-of-sale system for your organisation:
1. Link The Hardware And Software
You may combine your POS software with your gear, or it usually comes with its hardware. Point-of-sale systems are compatible with mobile devices, negating the need for specialist hardware. Some point-of-sale systems are tied to specific hardware, such as card readers or cash registers. To start utilising your POS system, connect the equipment to an outlet and a connection to the internet.
2. Add Your Merchandise
For every item or service your company offers the POS system acts as a catalogue. Go to your POS interface’s “add product” or comparable command button to create an entry for each item. Details like product name, pricing, description, and barcode or SKU entered. To assist you in differentiating comparable items, the majority of point-of-sale systems also let you submit a photo of each item. Every product is in sync with the online application of the POS system through POS download.
3. Type In The Permissions And Users.
You may add users and manage each user’s rights once the items and services have been entered into the POS system. On your point-of-sale interface, locate the “personnel” or “the user” command button and start inputting user credentials. Provide your name, position, and other details that the POS system asks for. You may also add items like scheduled shifts or personnel ID numbers. Users usually have certain rights that you may manage from a single interface.
4. Establish Payment Options
The majority of point-of-sale systems (POS) support cash and a few more contemporary payment options like online, contactless, and cryptocurrency payments. You may configure your payment methods by going to the “payment methods” menu button on your POS interface. This is the domain where you may modify, add, or remove various payment options. You may locate more about the payment methods your system accepts by consulting the handbook that comes with the POS software.
5. Combine With Accounting Software Or Other Company Applications
These days, POS systems interface with other business management applications including software for managing inventories and bookkeeping. Because of this characteristic, point-of-sale (POS) systems are among the tools for retail establishments and other enterprises. They may increase the reliability of financial details for the company and decrease the need for human data entry.
Your software shows up on the system interfaces and enables modification if it is compliant with the POS system. You may need to know further study on particular programs since some software that necessitates additional procedures to connect with POS systems.


